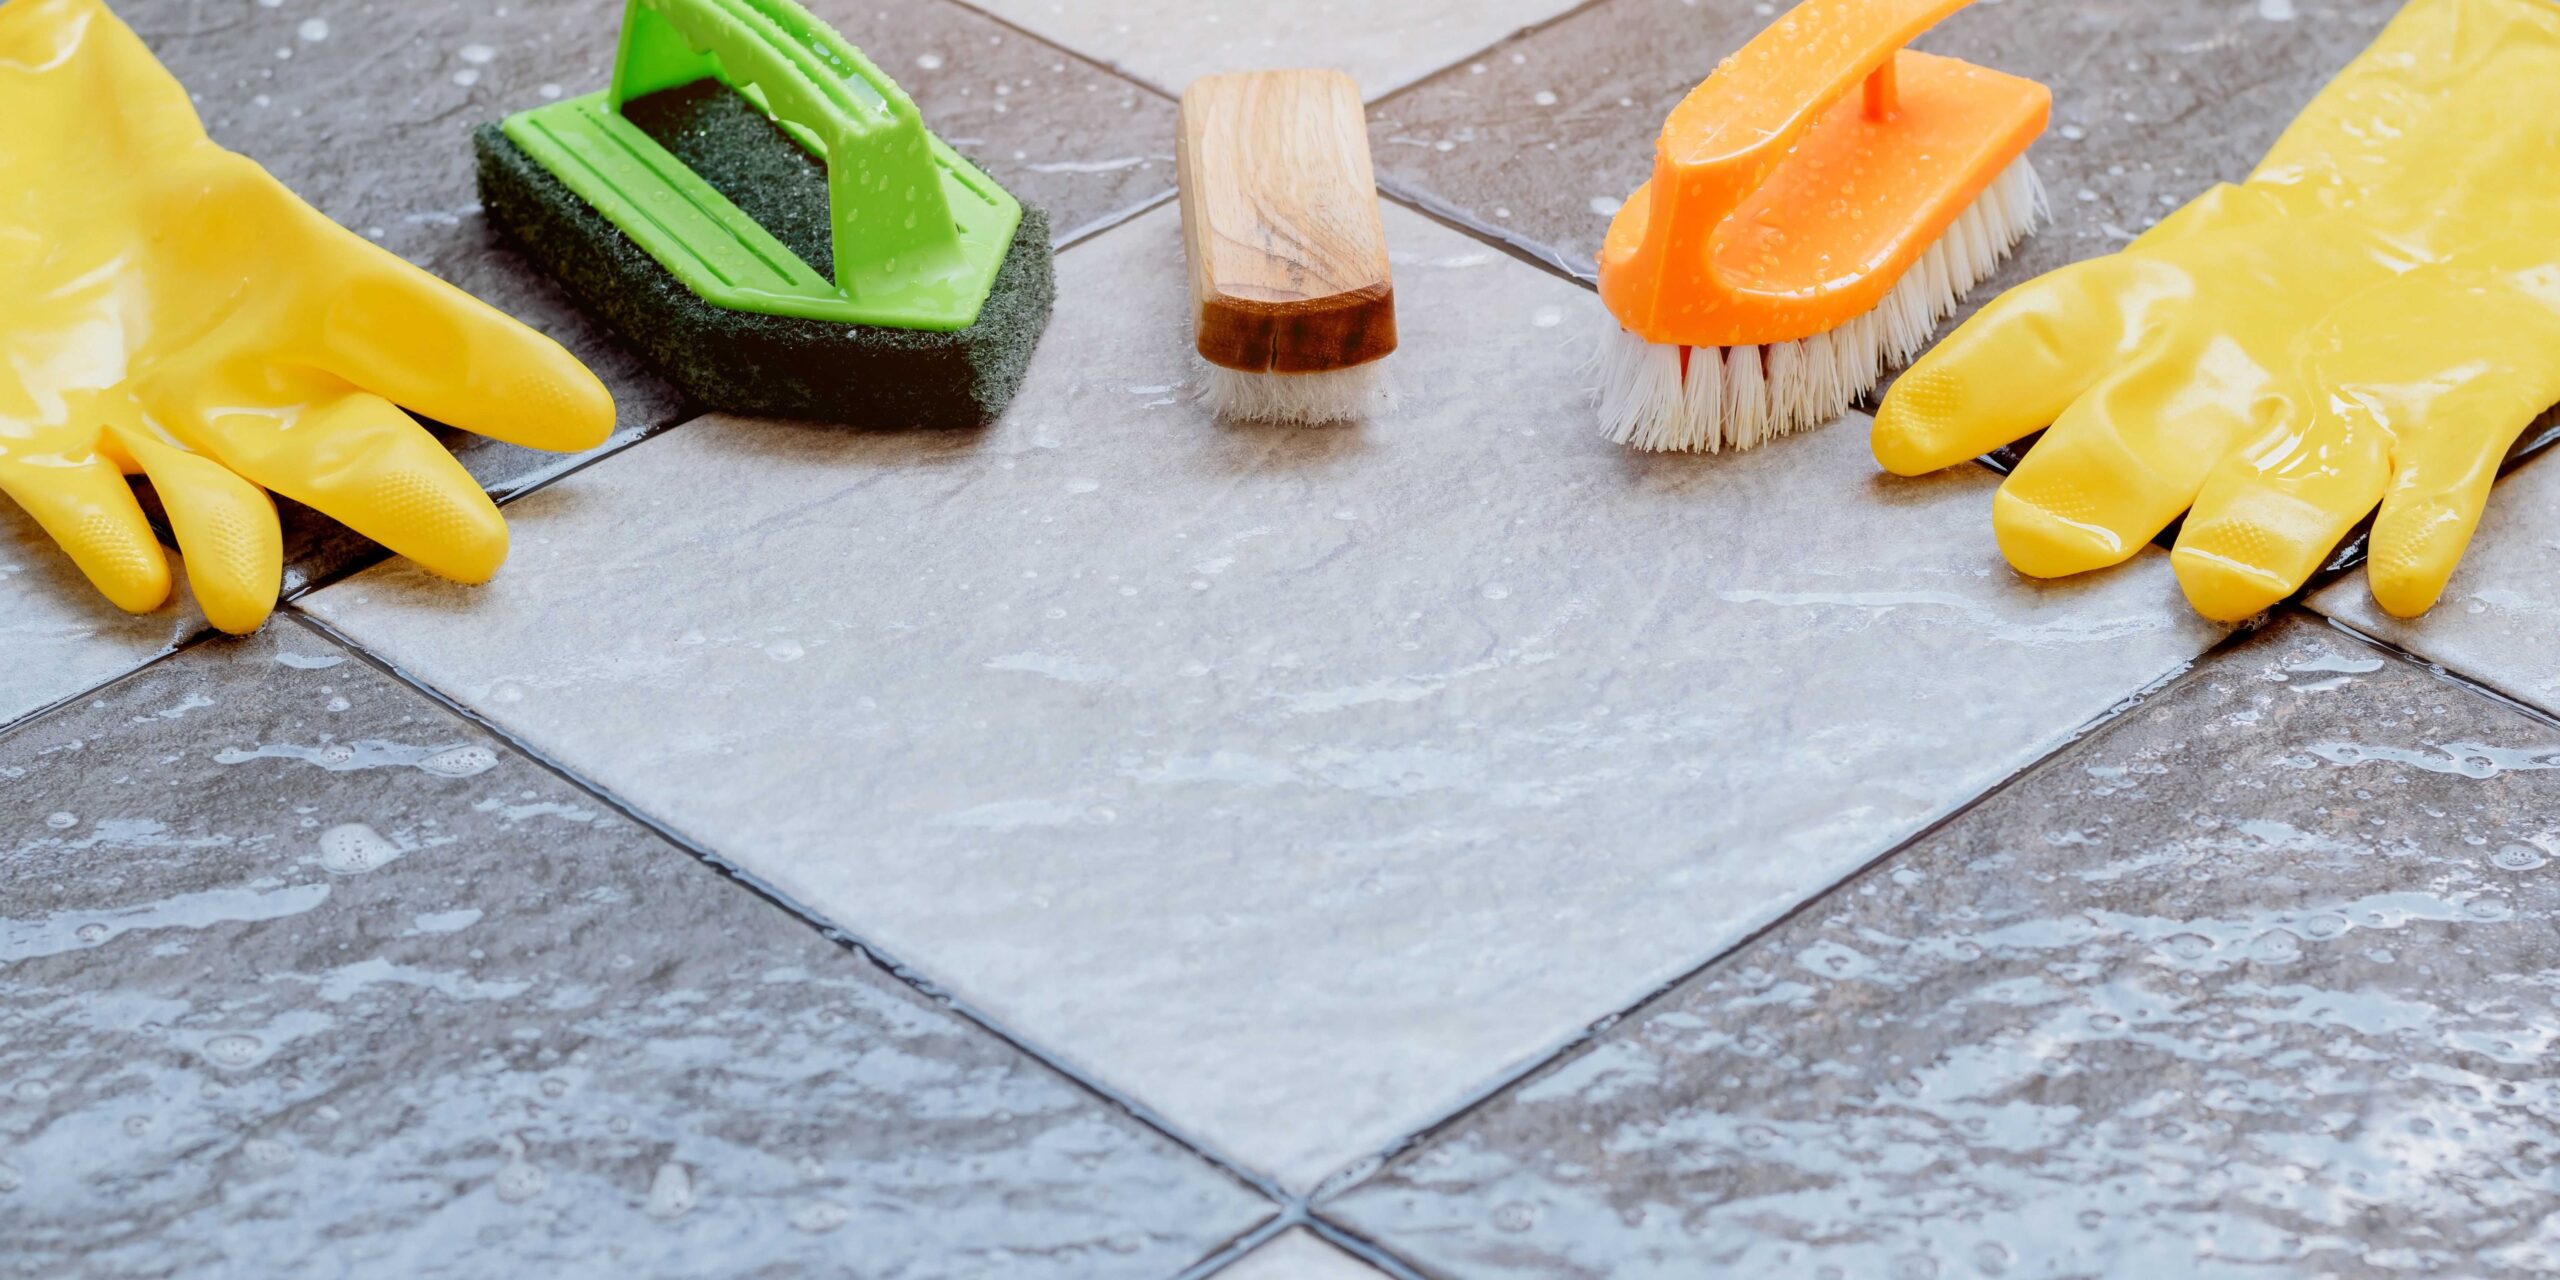
Ah, grout. The unsung hero of the tiled world. It keeps your tiles secure and adds a touch of definition, but let’s be honest, it can also become a magnet for grime, mildew, and despair. Never fear, fellow tile enthusiasts! This guide will equip you with the knowledge and tools to transform your tired grout lines into sparkling pathways of pride.
Understanding Your Grout: Sealed vs. Unsealed
Before diving into cleaning techniques, a crucial first step is understanding your grout. Is it sealed or unsealed? Sealed grout has a protective barrier that repels dirt and moisture, making it easier to clean and maintain. Unsealed grout, on the other hand, is more porous and susceptible to staining. The good news is most modern grouts come sealed, but a quick check never hurts.
DIY Diagnosis:
Drip Test: Apply a few drops of water to the grout. If the water beads up and rolls off, your grout is sealed. If it absorbs the water readily, it’s unsealed.
Consult Your Tile Mastermind: If you’re unsure about the age of your tiles or grouting, refer to any installation manuals or receipts you might have. Failing that, consulting the original tiler or a professional can provide valuable insight.
Grout Gone Rogue: Mustering Your Cleaning Arsenal
Now, let’s get down to business! Here’s a breakdown of effective cleaning methods, categorized by their intensity:
Level 1: The Daily Defence
Warm Water & Dish Soap: This is your go-to for routine cleaning. Mix a few drops of dish soap in warm water, dip a microfiber cloth, and wipe down the tiles and grout lines. This tackles everyday dust and grime, preventing build-up.
Level 2: The Grout Guardian
Baking Soda Power: For slightly deeper cleaning, baking soda is your friend. Create a paste of two parts baking soda to one part water. Apply the paste directly to the grout lines with a soft-bristled brush (a toothbrush works wonders!). Let it sit for 15-20 minutes, then scrub gently and rinse thoroughly with clean water.
Level 3: The Conquering Crusader
The Vinegar Offensive: For tougher stains and mildew, white vinegar steps up to the plate. Mix equal parts white vinegar and water in a spray bottle. Apply the solution generously to the grout, allowing it to sit for 10-15 minutes. The acidity of vinegar helps break down grime and kill mildew. Scrub with a grout brush, then rinse well.
Caution: Always test vinegar in a small inconspicuous area first, especially on unsealed grout, as it can be slightly corrosive.
Level 4: The Heavy Hitters
Hydrogen Peroxide Hero: For stubborn mold or mildew, hydrogen peroxide can be your knight in shining armour. Apply a 3% hydrogen peroxide solution directly to the affected area. Let it sit for 15 minutes, then scrub and rinse.
Caution: Wear gloves and ensure proper ventilation when using hydrogen peroxide.
Grout Teamwork Makes the Dream Work: Power Couples for a Sparkling Finish
Baking Soda & Vinegar Dream Team: This dynamic duo tackles tough grime. Apply the baking soda paste as described earlier. Once you rinse the paste, follow up with a vinegar solution and scrubbing. The baking soda loosens dirt, and the vinegar cuts through it.
Baking Soda & Hydrogen Peroxide Powerhouse: For a heavy-duty clean against mold and mildew, create a paste of baking soda and hydrogen peroxide. Apply, let it sit, scrub, and rinse thoroughly. Wear gloves and ensure ventilation when using this combination.
Pro Tips for a Grout-Cleaning Masterclass
Always Test First: Before applying any cleaning solution to your entire grout area, test it in a small, inconspicuous spot to ensure it doesn’t discolour the grout or tiles.
Brushwork Matters: Use a soft-bristled brush for regular cleaning and a stiffer brush for tougher stains. Avoid metal brushes, as they can scratch the grout.
The Power of Ventilation: Whenever using cleaning solutions, especially vinegar or hydrogen peroxide, ensure proper ventilation to avoid inhaling fumes.
Rinse Repeat: After applying any cleaning solution, rinse the area thoroughly with clean water to remove any residue.
Sealing Secrets: Regularly sealing your grout (especially if it’s unsealed) provides an extra layer of protection against staining and makes future cleaning a breeze. Follow the manufacturer’s instructions for the proper application of a grout sealer.
Bonus Round: Grout Prevention is Key!
Wipe Up Spills Immediately: Don’t let spills sit and stain your grout. The quicker you address them, the easier they are to clean up.
Doormats Matter: Place doormats outside entrances to trap dirt and debris before they get tracked onto your tiled floors.
Shower Squeegee Savior: After showering, use a squeegee to remove excess water from the walls and floor. This helps prevent moisture build-up, which can lead to mold and mildew growth in grout lines.
Ventilation is Vital: Ensure proper ventilation in bathrooms and kitchens with tiled areas. Open windows or run exhaust fans during and after showers or cooking to reduce humidity.
Maintaining the Grout Glory: A Long-Term Strategy
Cleaning your grout is essential, but a long-term strategy ensures it stays sparkling for years to come. Here are some key practices:
Develop a Cleaning Routine: Integrate regular cleaning (Level 1) into your weekly or bi-weekly cleaning routine. This prevents dirt and grime build-up from becoming a bigger problem.
Deep Clean Regularly: Depending on foot traffic and usage, schedule deeper cleaning sessions (Level 2 or 3) every month or two. For heavily used areas, consider more frequent deep cleaning.
Resealing When Needed: Over time, grout sealant can wear down. If you notice increased staining or difficulty cleaning, it might be time to reseal. Consult the product instructions or a professional for proper resealing techniques.
Grout Replacement: A Last Resort
If your grout is severely stained, cracked, or crumbling, even after trying all the cleaning methods, it might be time for grout replacement. This is a more intensive process and might require professional help. However, with proper care and maintenance, you can extend the life of your grout significantly.
The Grout Guru’s Final Words
With a little effort and the right tools, you can transform your grout from a grimy eyesore to a gleaming testament to your cleaning prowess. Remember, consistency is key! Regular cleaning, coupled with preventative measures, will ensure your tiled surfaces remain beautiful for years to come. So, grab your cleaning supplies, embrace your inner grout guru, and get ready to conquer those dirty lines!
Hightiles Pro-Tip: Hightiles offers a wide range of high-quality tile and grout cleaning products specifically formulated to be gentle yet effective. Visit our website or your nearest Hightiles store to find the perfect solution for your grout woes!

 Bathroom Wall Tiles
 Bathroom Floor Tiles
 Shower Room Tiles
 Wet Room Tiles
 Feature Wall
 Small
Small Medium
 Large
Large Extra Large
 Grey
Grey White
White Green
Green Black
Black Pink
Pink Blue
Blue Beige
Beige Cream
Cream Black & White
 Teal & Turquoise
 Onyx Effect
 Rustic Effect
 Natural Stone Effect
 Granite Effect
 Terranzo Effects
 Glass Effect
 Subway Tiles
 Victorian Tiles
 Concreate Effect
 Brick Effect
 Square Tiles
 Rectangle Tiles
 Hexagonal Tiles
 Plank Tiles
 Fan Shaped Tiles
 Matt
Matt Polished/ Glose
 Kitchen Wall Tiles
 Kitchen Floor Tiles
 Splashback Tiles
 Wood Effect
 Marble Effect
 Outdoor Wall Tiles
 Fireplace
 Garden Tiles
 Outdoor Floor Tiles
 Patio Tiles
 Porch Tiles
 Hallway
 Leaving room
 Balcony Tiles
 Deck Tiles
 Outdoor Slab Tiles
 Wall Cladding